
Hobby Review - Army Painter Battlefield Basing And Tufts
Basing can be one of the more intimidating aspects of the miniature hobby. An amazing paint job on the miniature can be easily destroyed by a blank base or even a shoddy one. On the other hand, a really good basing can elevate the model to more than just a game piece. It can help convey the story the painter is trying to immerse their gaming experience in.
Army Painter offers a line of various materials to make basing a lot easier and far less of a barrier to get over for new players.
The Army Painter Battlefield Basing offers several various textures that hobbyists can add to their bases. The line features everything from gravel to snow to even barbed wire to add the foundation for an epic base. Each one of the materials is store in a compact and stackable clear plastic tub.
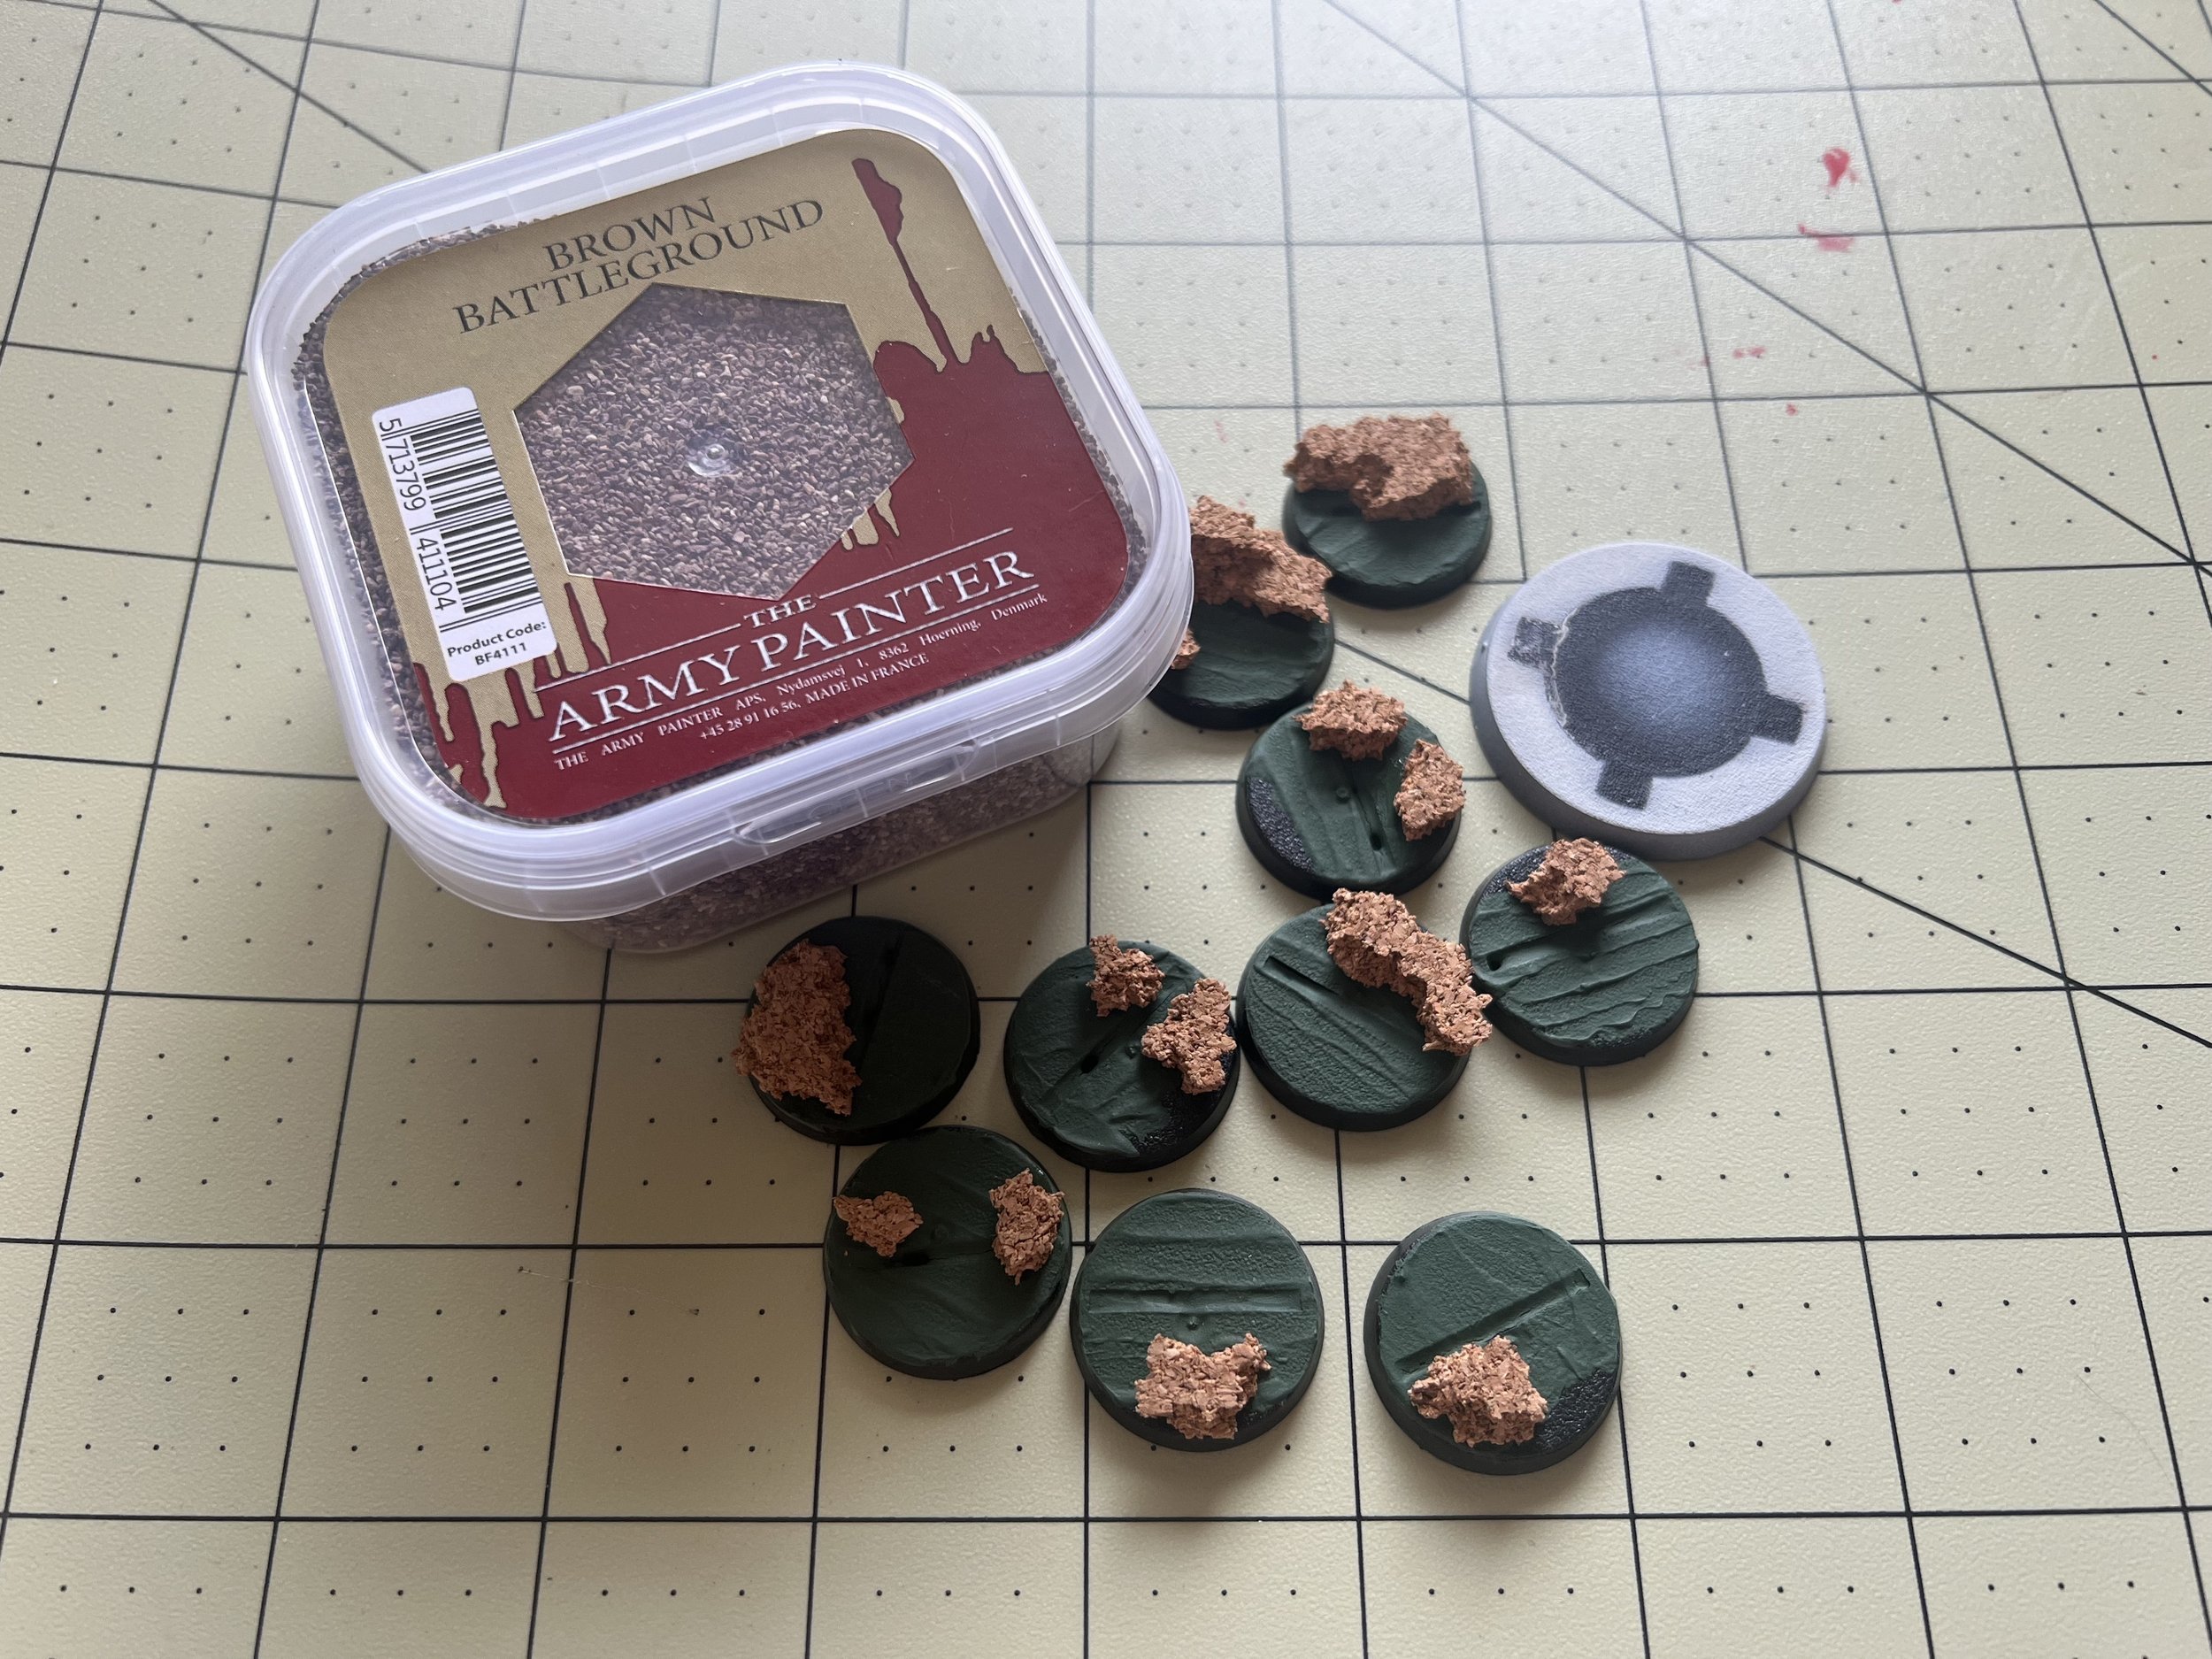
The one I selected to try out for a basing project for the review was the Army Painter Battlefield Basing: Brown Battleground. It contains a sandlike mixture of three different stone sizes for variety. With a little PVA glue, the material gave the bases a nice gravel texture. I could have kept it the color it was but we ended up adding some additional color on top, but more on that at the bottom.
The little tub does its job. It is compact and takes up little-to-no room. If I’d purchased the entire range and stacked them in the corner of my desk, it would be easily noticeable what material was what.

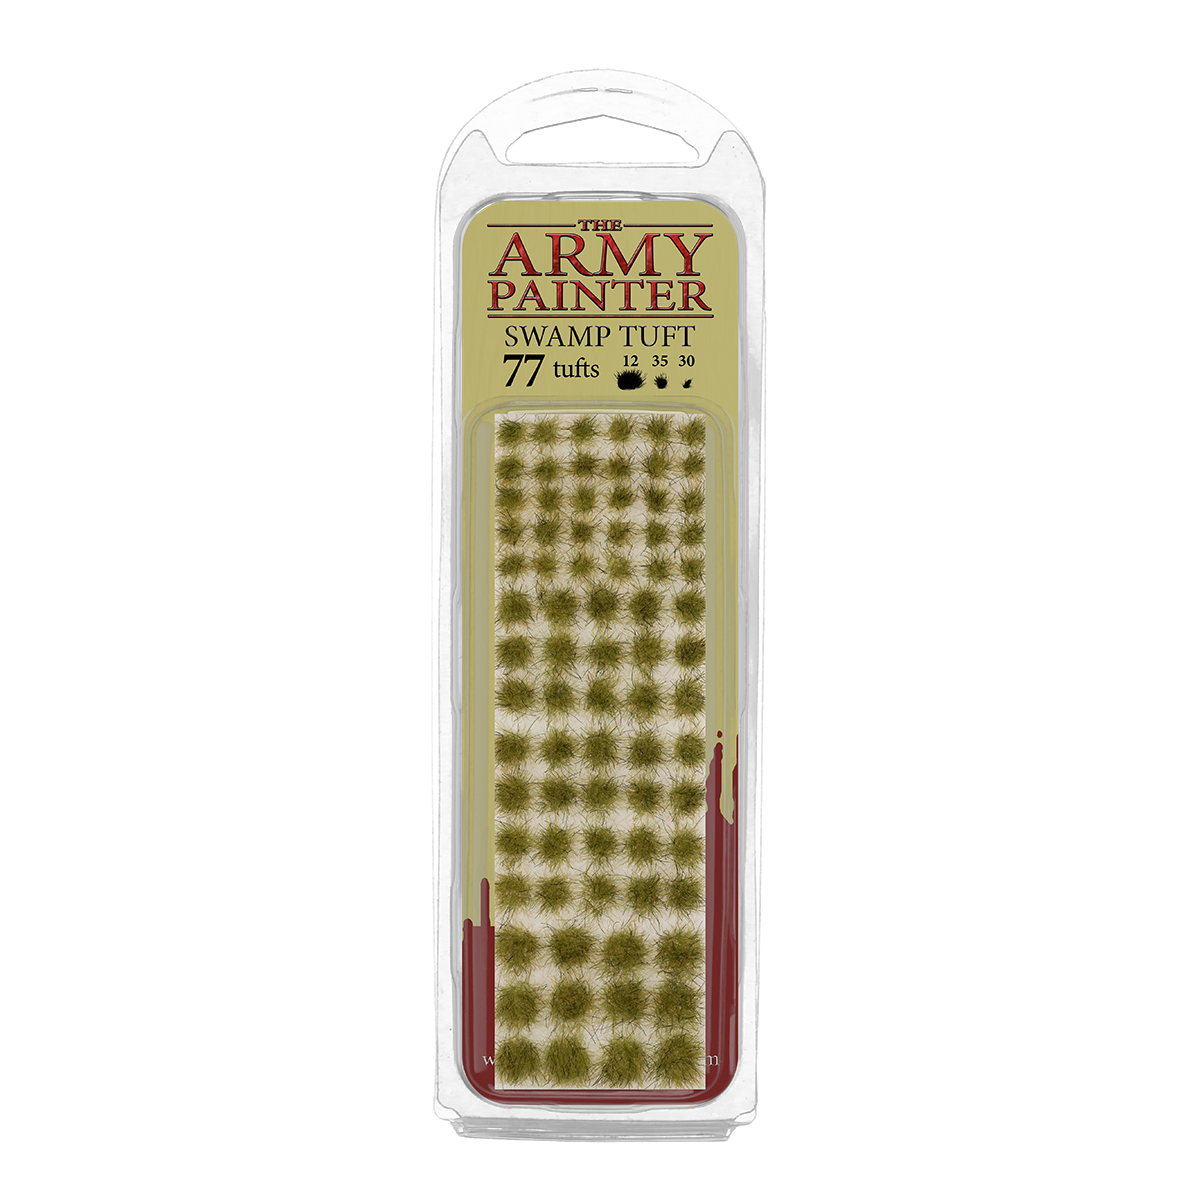
For adding additional dynamic detail, Army Painter offers a line of tufts to accent any base. Each includes 77 grass tuffs spread out over three different sizes. There are a total of 12 variations available for purchase, ranging from frozen tufts to scorched tufts.
I went with the Army Painter: Swamp Tuft for this review/project. It is a nice dark green that went with the colors we were thinking for the bases. The tufts are adhered to a sheet of wax paper and come off easily. I didn’t notice any loss of fluff or material when removing them from the sheet with a pair of hobby tweezers. With a small dab of PVA glue, they stayed in place and made the bases pop.
For the bases, I selected a T’au Fire Team that I had sitting around from the Space Wolves vs T’au Kill Team starter. Full discloser: I have always preferred miniatures with retextured/3D bases. I am one of those that felt personally intimidated by the prospect of making a horrible base. As such, I have a lot of miniatures that are sitting around unpainted simply because I did’t think I could do the bases justice. Lets see if I did as bad of a job as I thought I would.
Step 1: Prep the bases.
For whatever reach, the T’au bases had slits in the middle of all of them except the big one for the turret/rocket launcher. This required the use of some sort of filling medium. Anything would have worked, honestly, I just used what I had near by. I probably wouldn’t recommend any of the liquid stuff as it shrinks as it dries. I left the bases cure over night.
Lastly, before moving onto the basing material, I tore off some pieces of cork to make some larger rock formations to add scale and variety. Ultimately, this is up to you if you want to go that extra step.
Note: If you do decide to do this, make sure to use your miniatures to determine the best places to put the cork. When doing the bases and models separately, it can be easy to misjudge how much canvas space you have to work with.
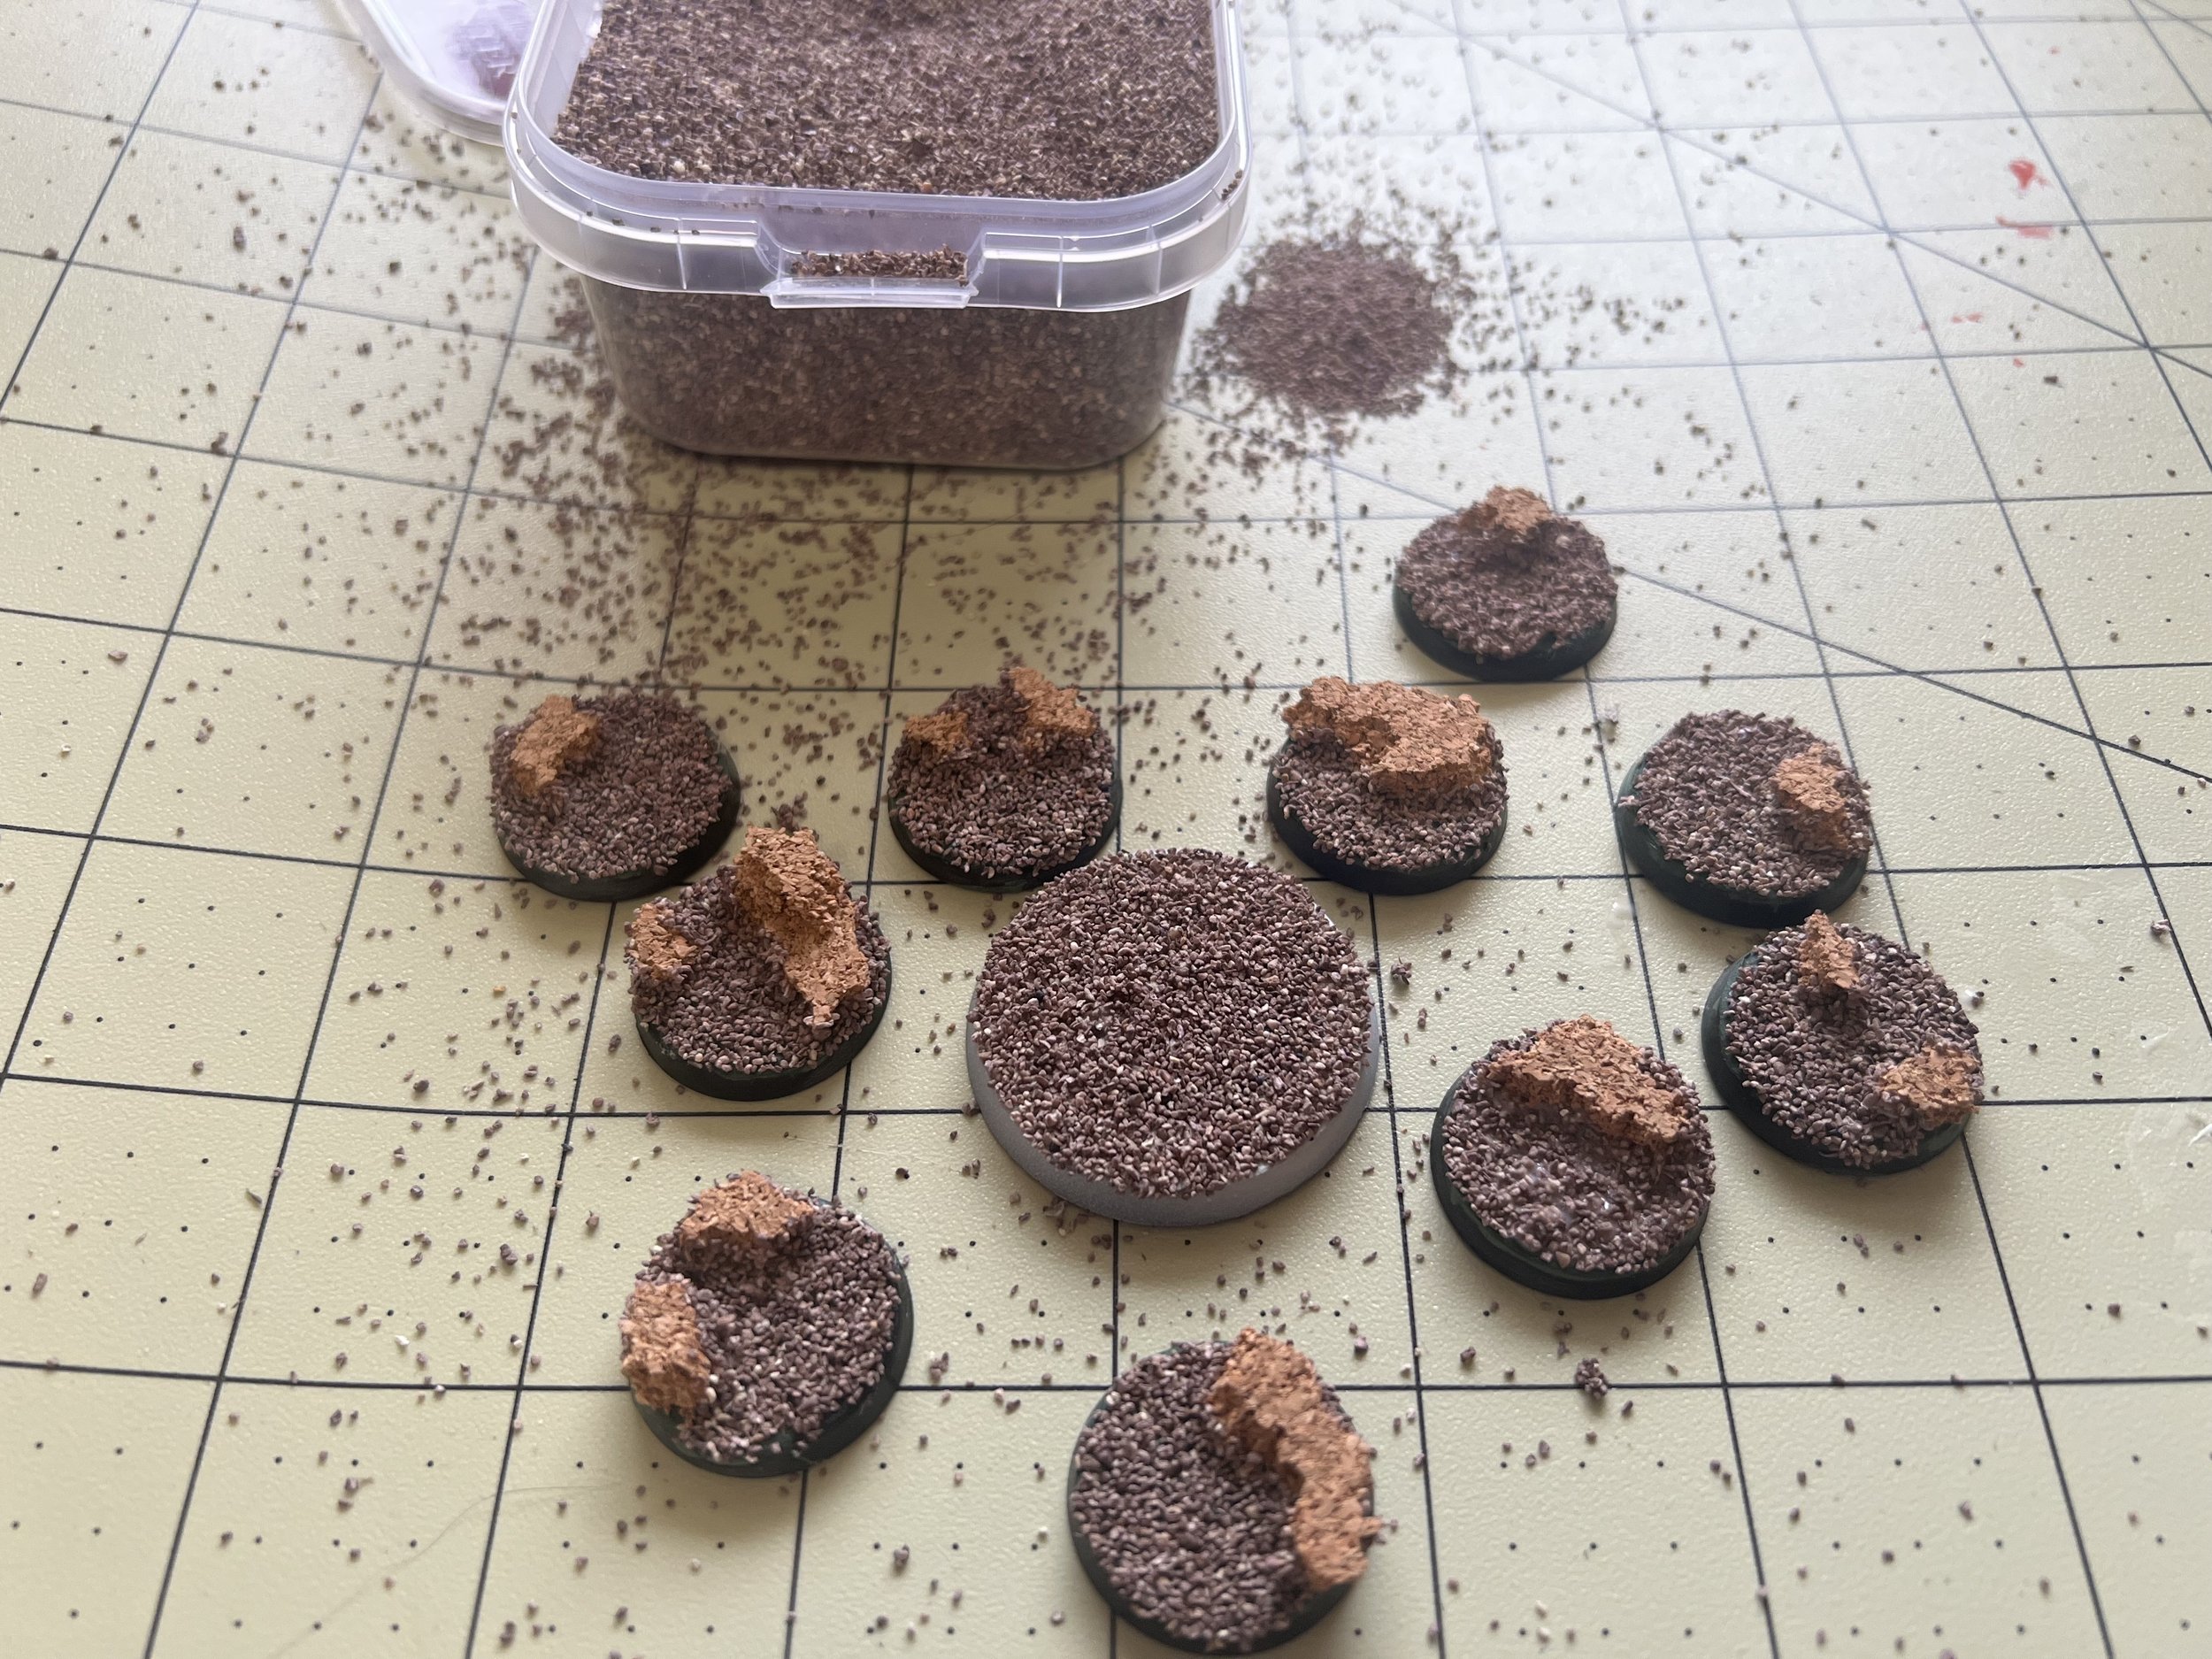
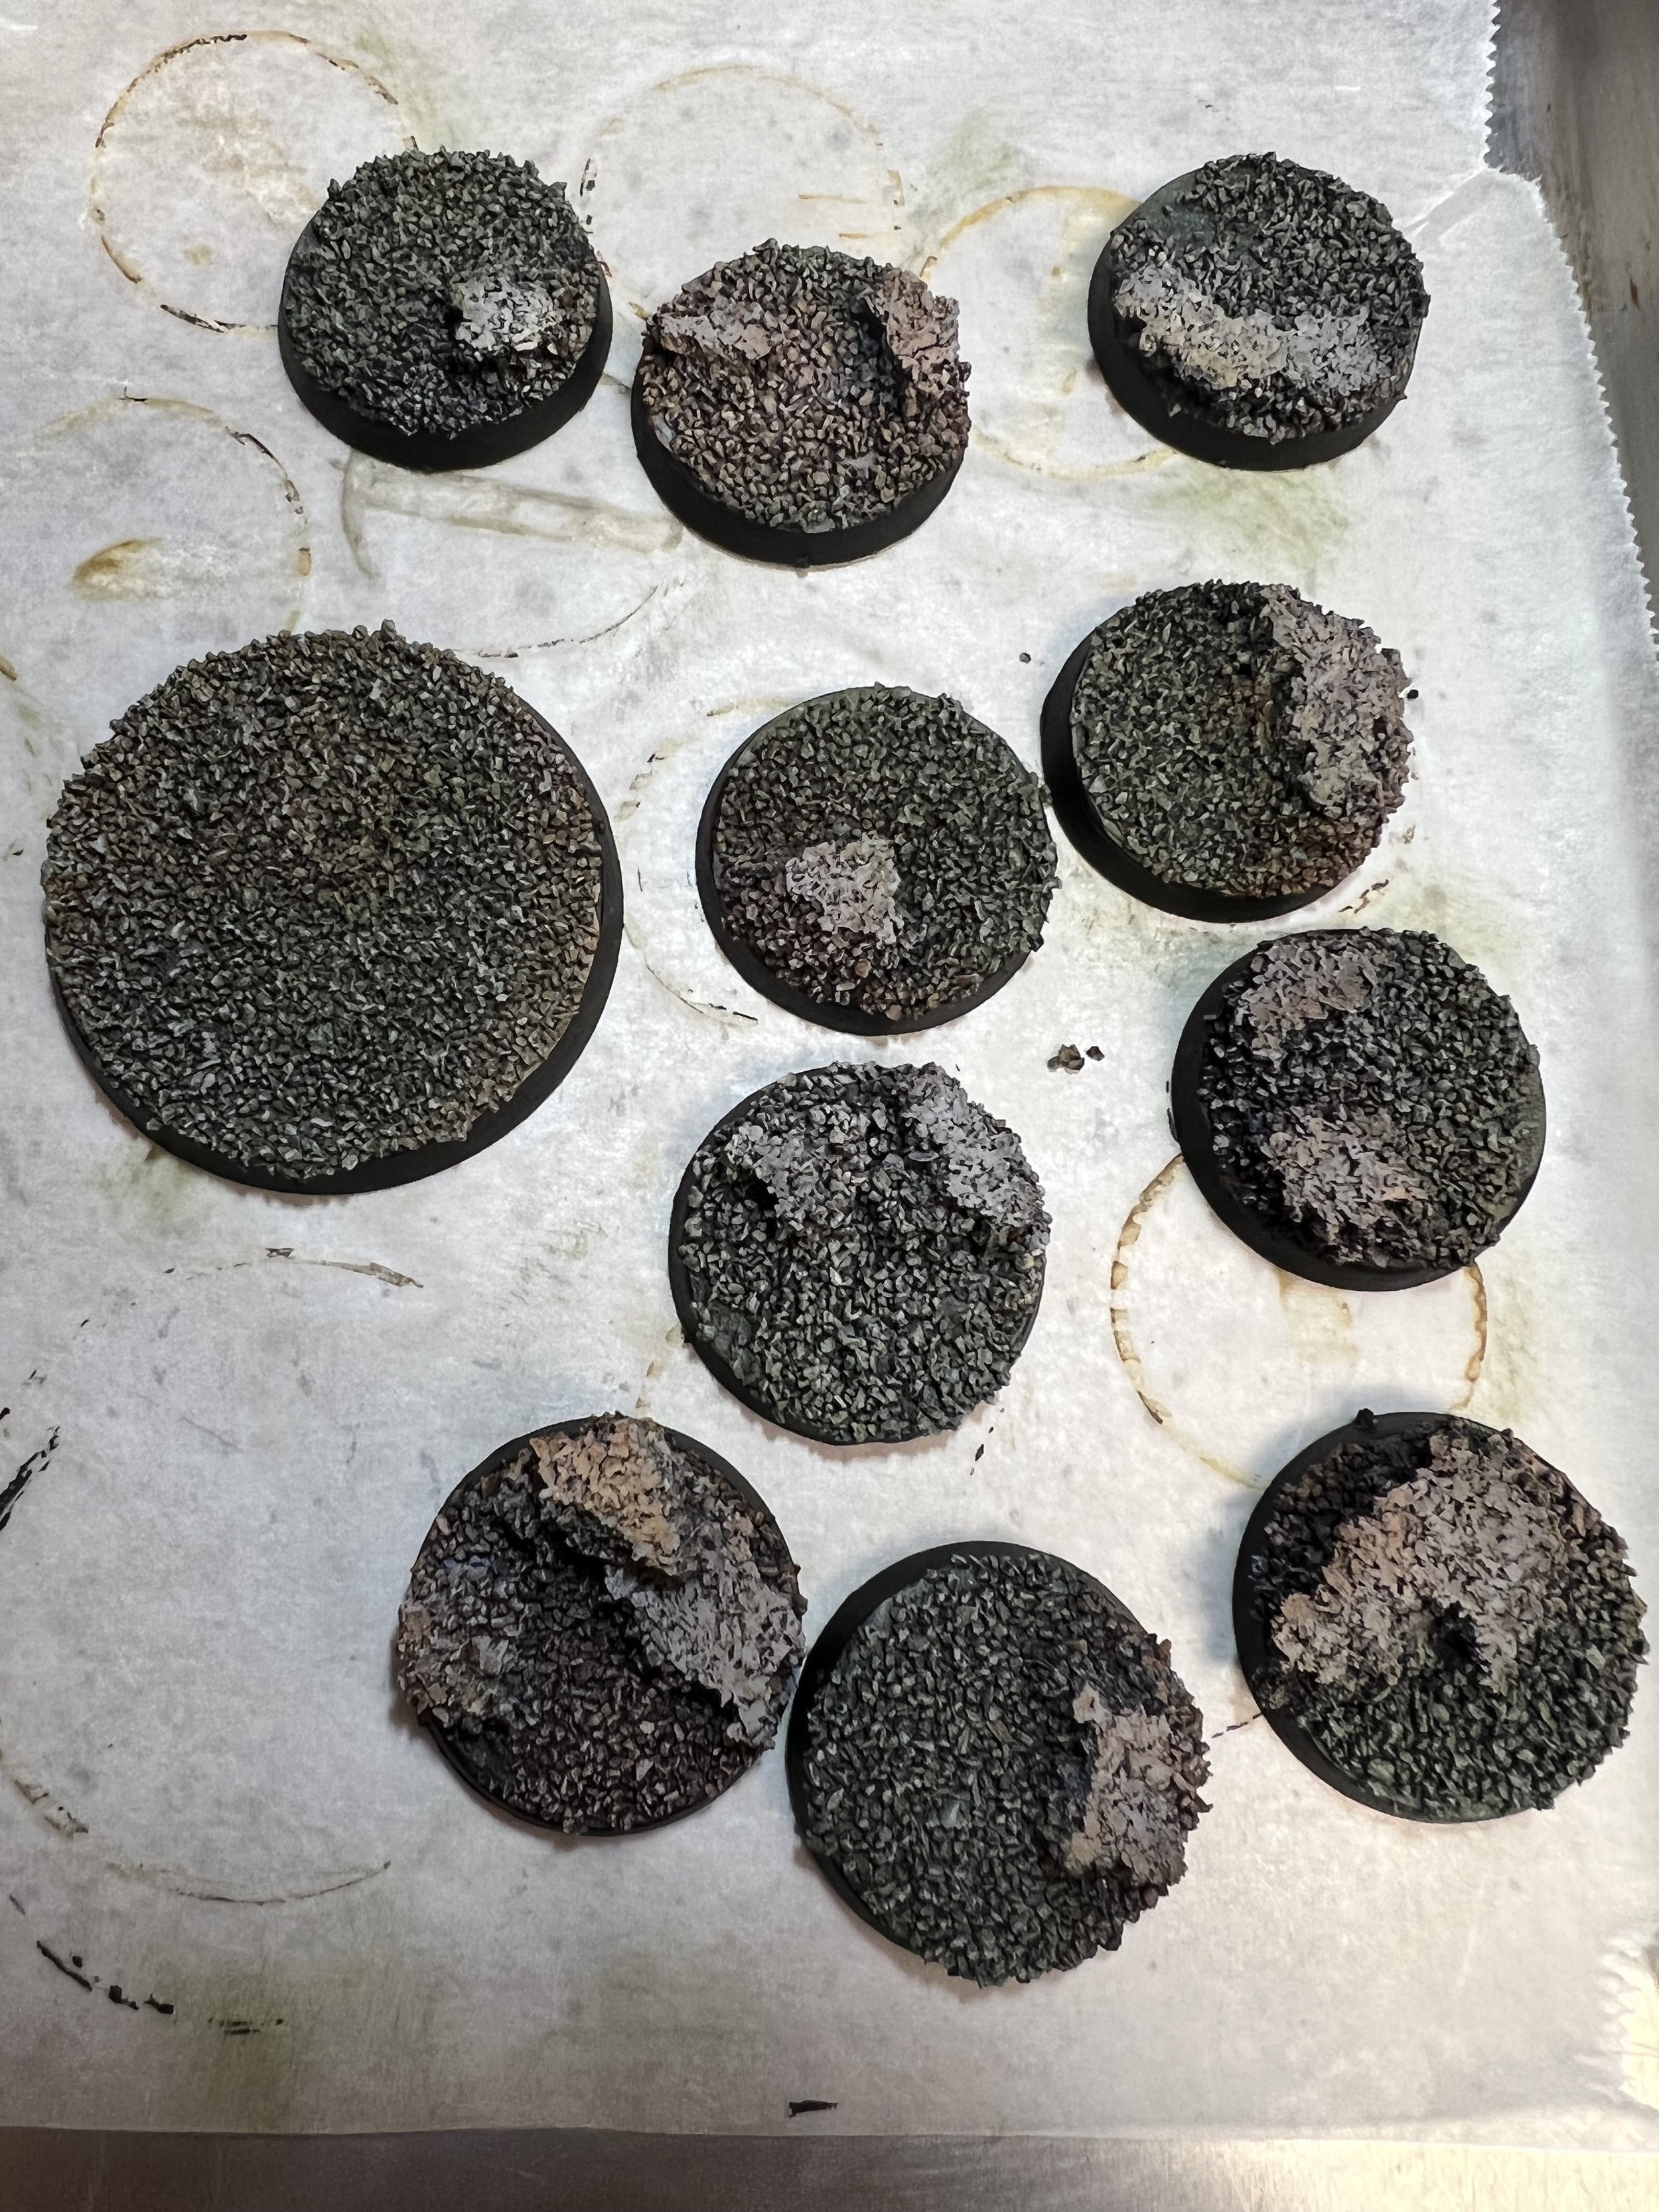
Step 2: Add the gravel.
This step is incredible easy. Simply apply a nice mix to PVA glue (re: school glue) to your base and pour the rocks onto the base. I held the bases above the container to limit as much mess as possible. After I let that sit for a little while, I held the bases over the container and flicked the underside to knock off any loose material.
Lastly, make a mixture of water and PVA glue to apply over the entire base and all the materials. This will act as a seal to keep the rocks from falling off when painting.
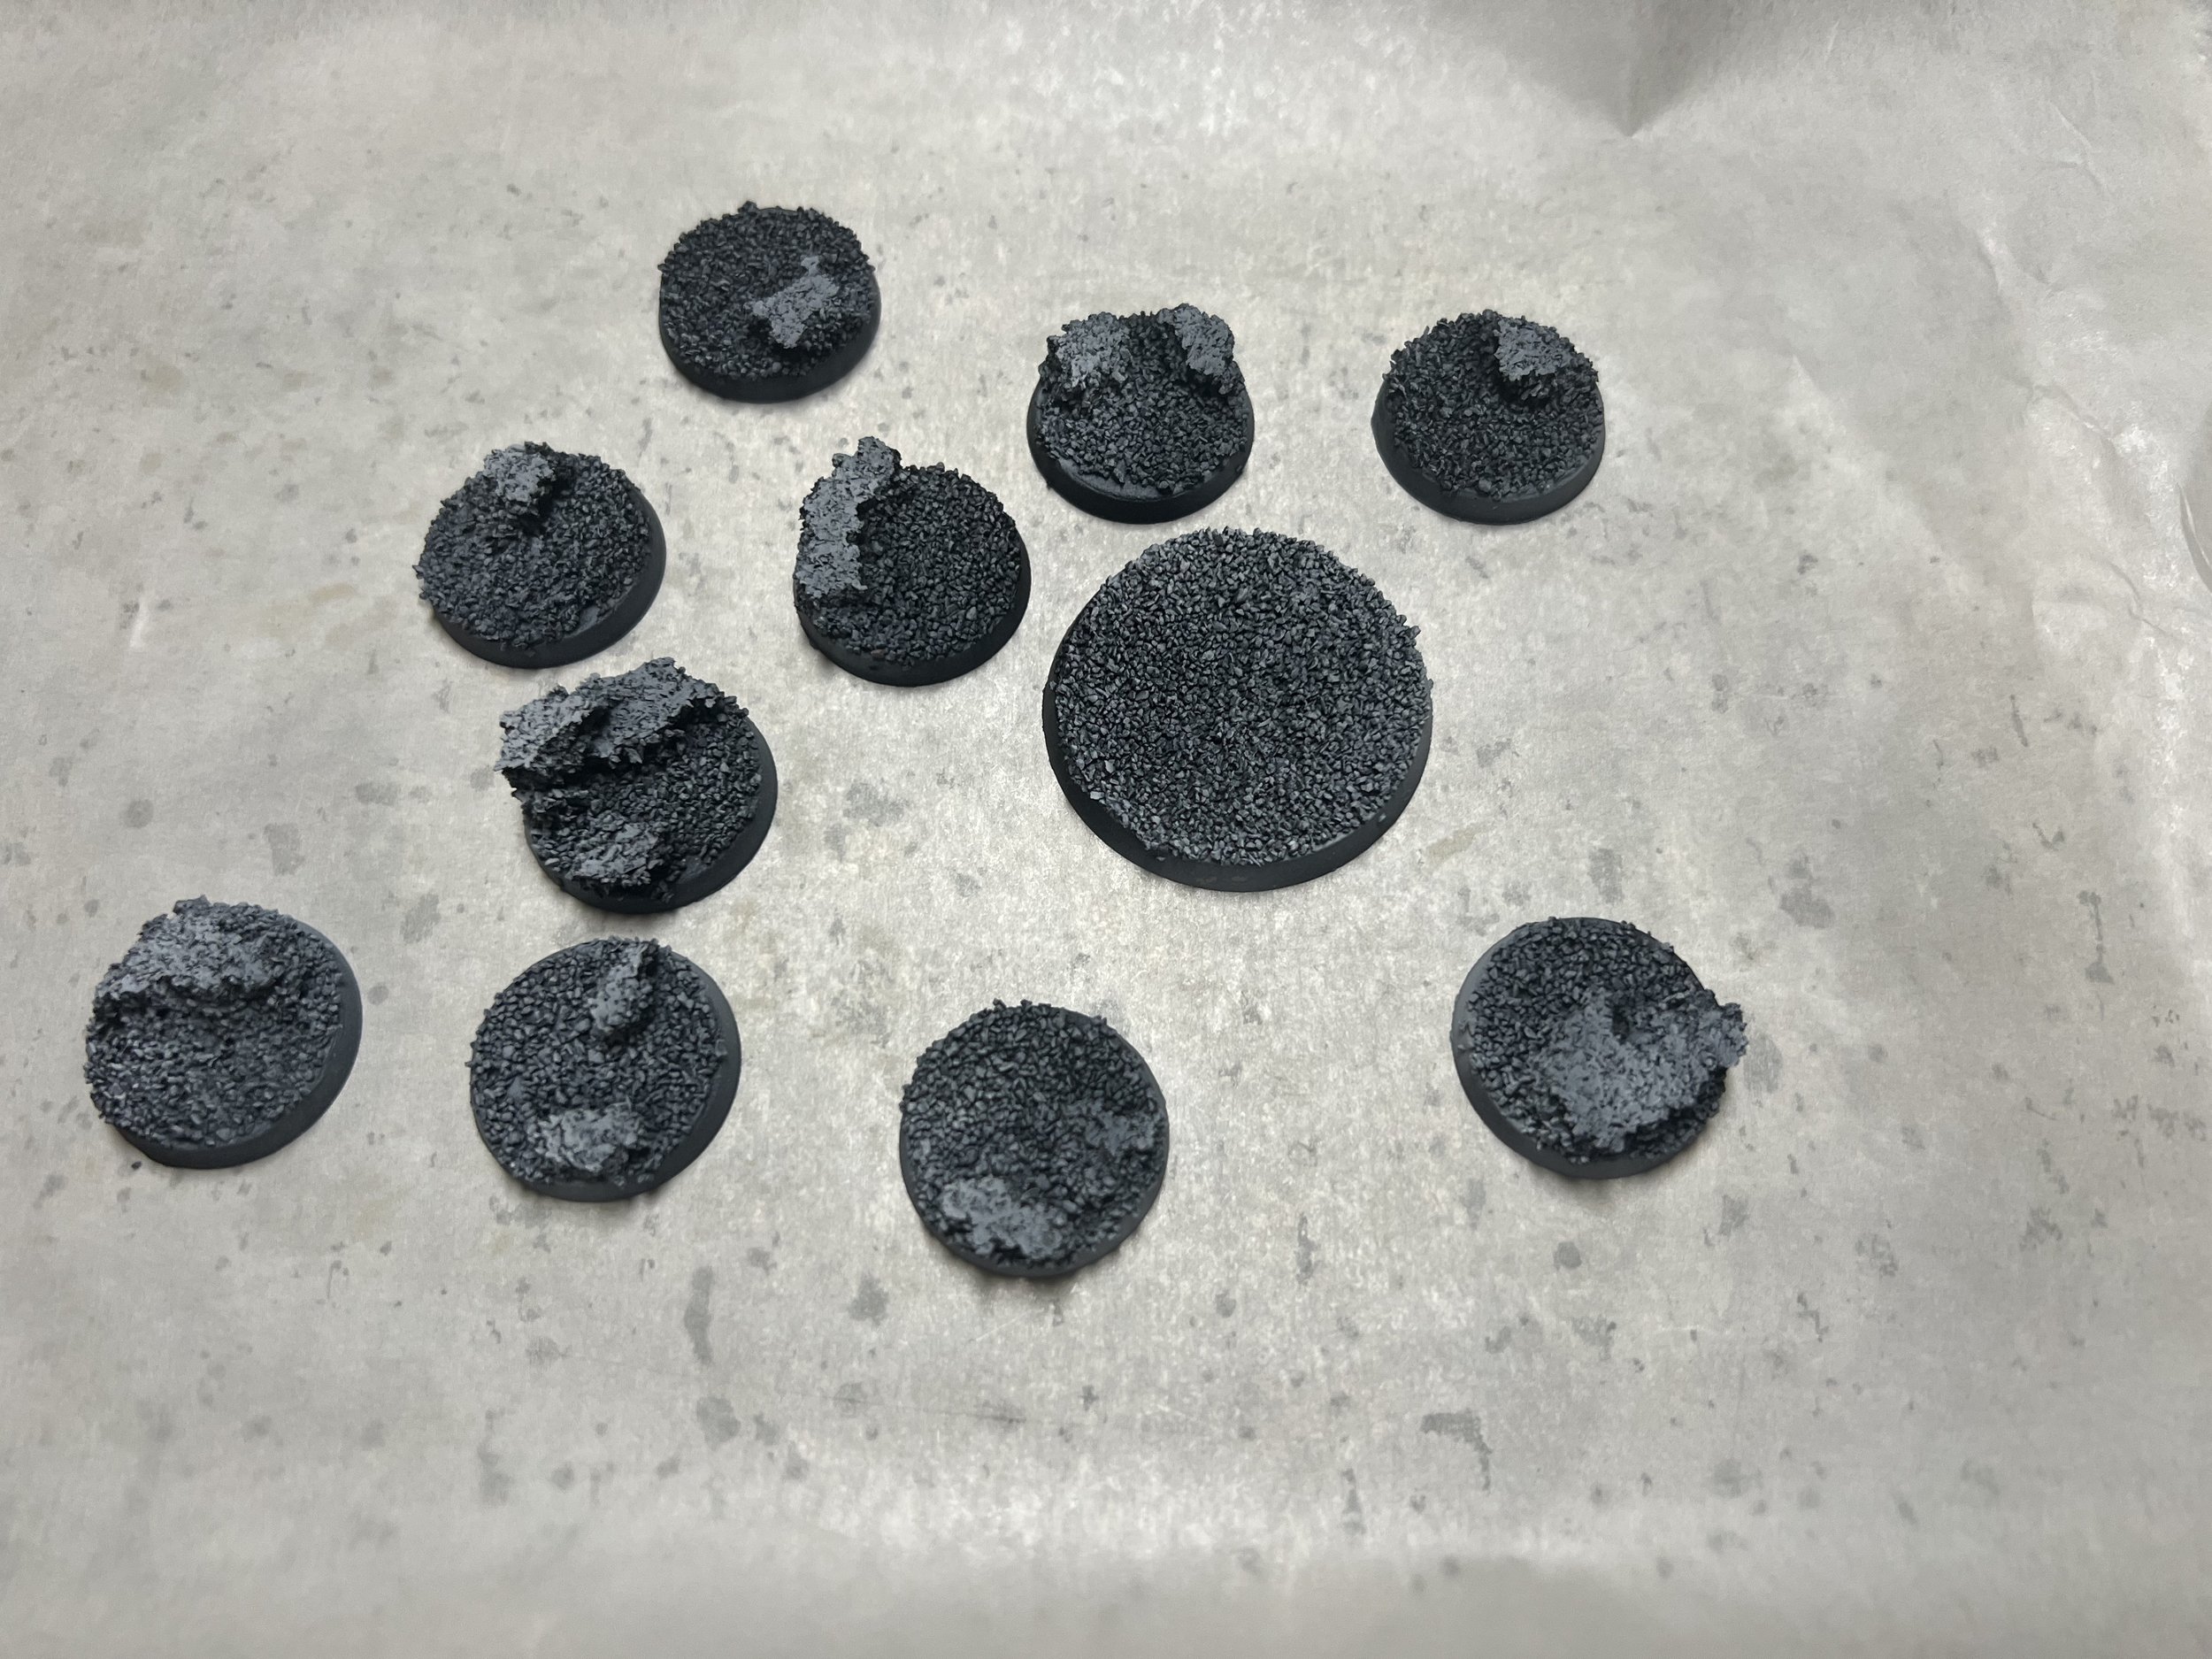
Step 3: Prime the bases.
If the last step was easy mode, this is this beginner mode. Simply prime your bases.
I used my go to airbrush primers. I let the black cover the entire base, with the white acting as a soft dusting to get the raised points of the gravel. I also gave the cork rocks some attention with the white to really make them stand out.
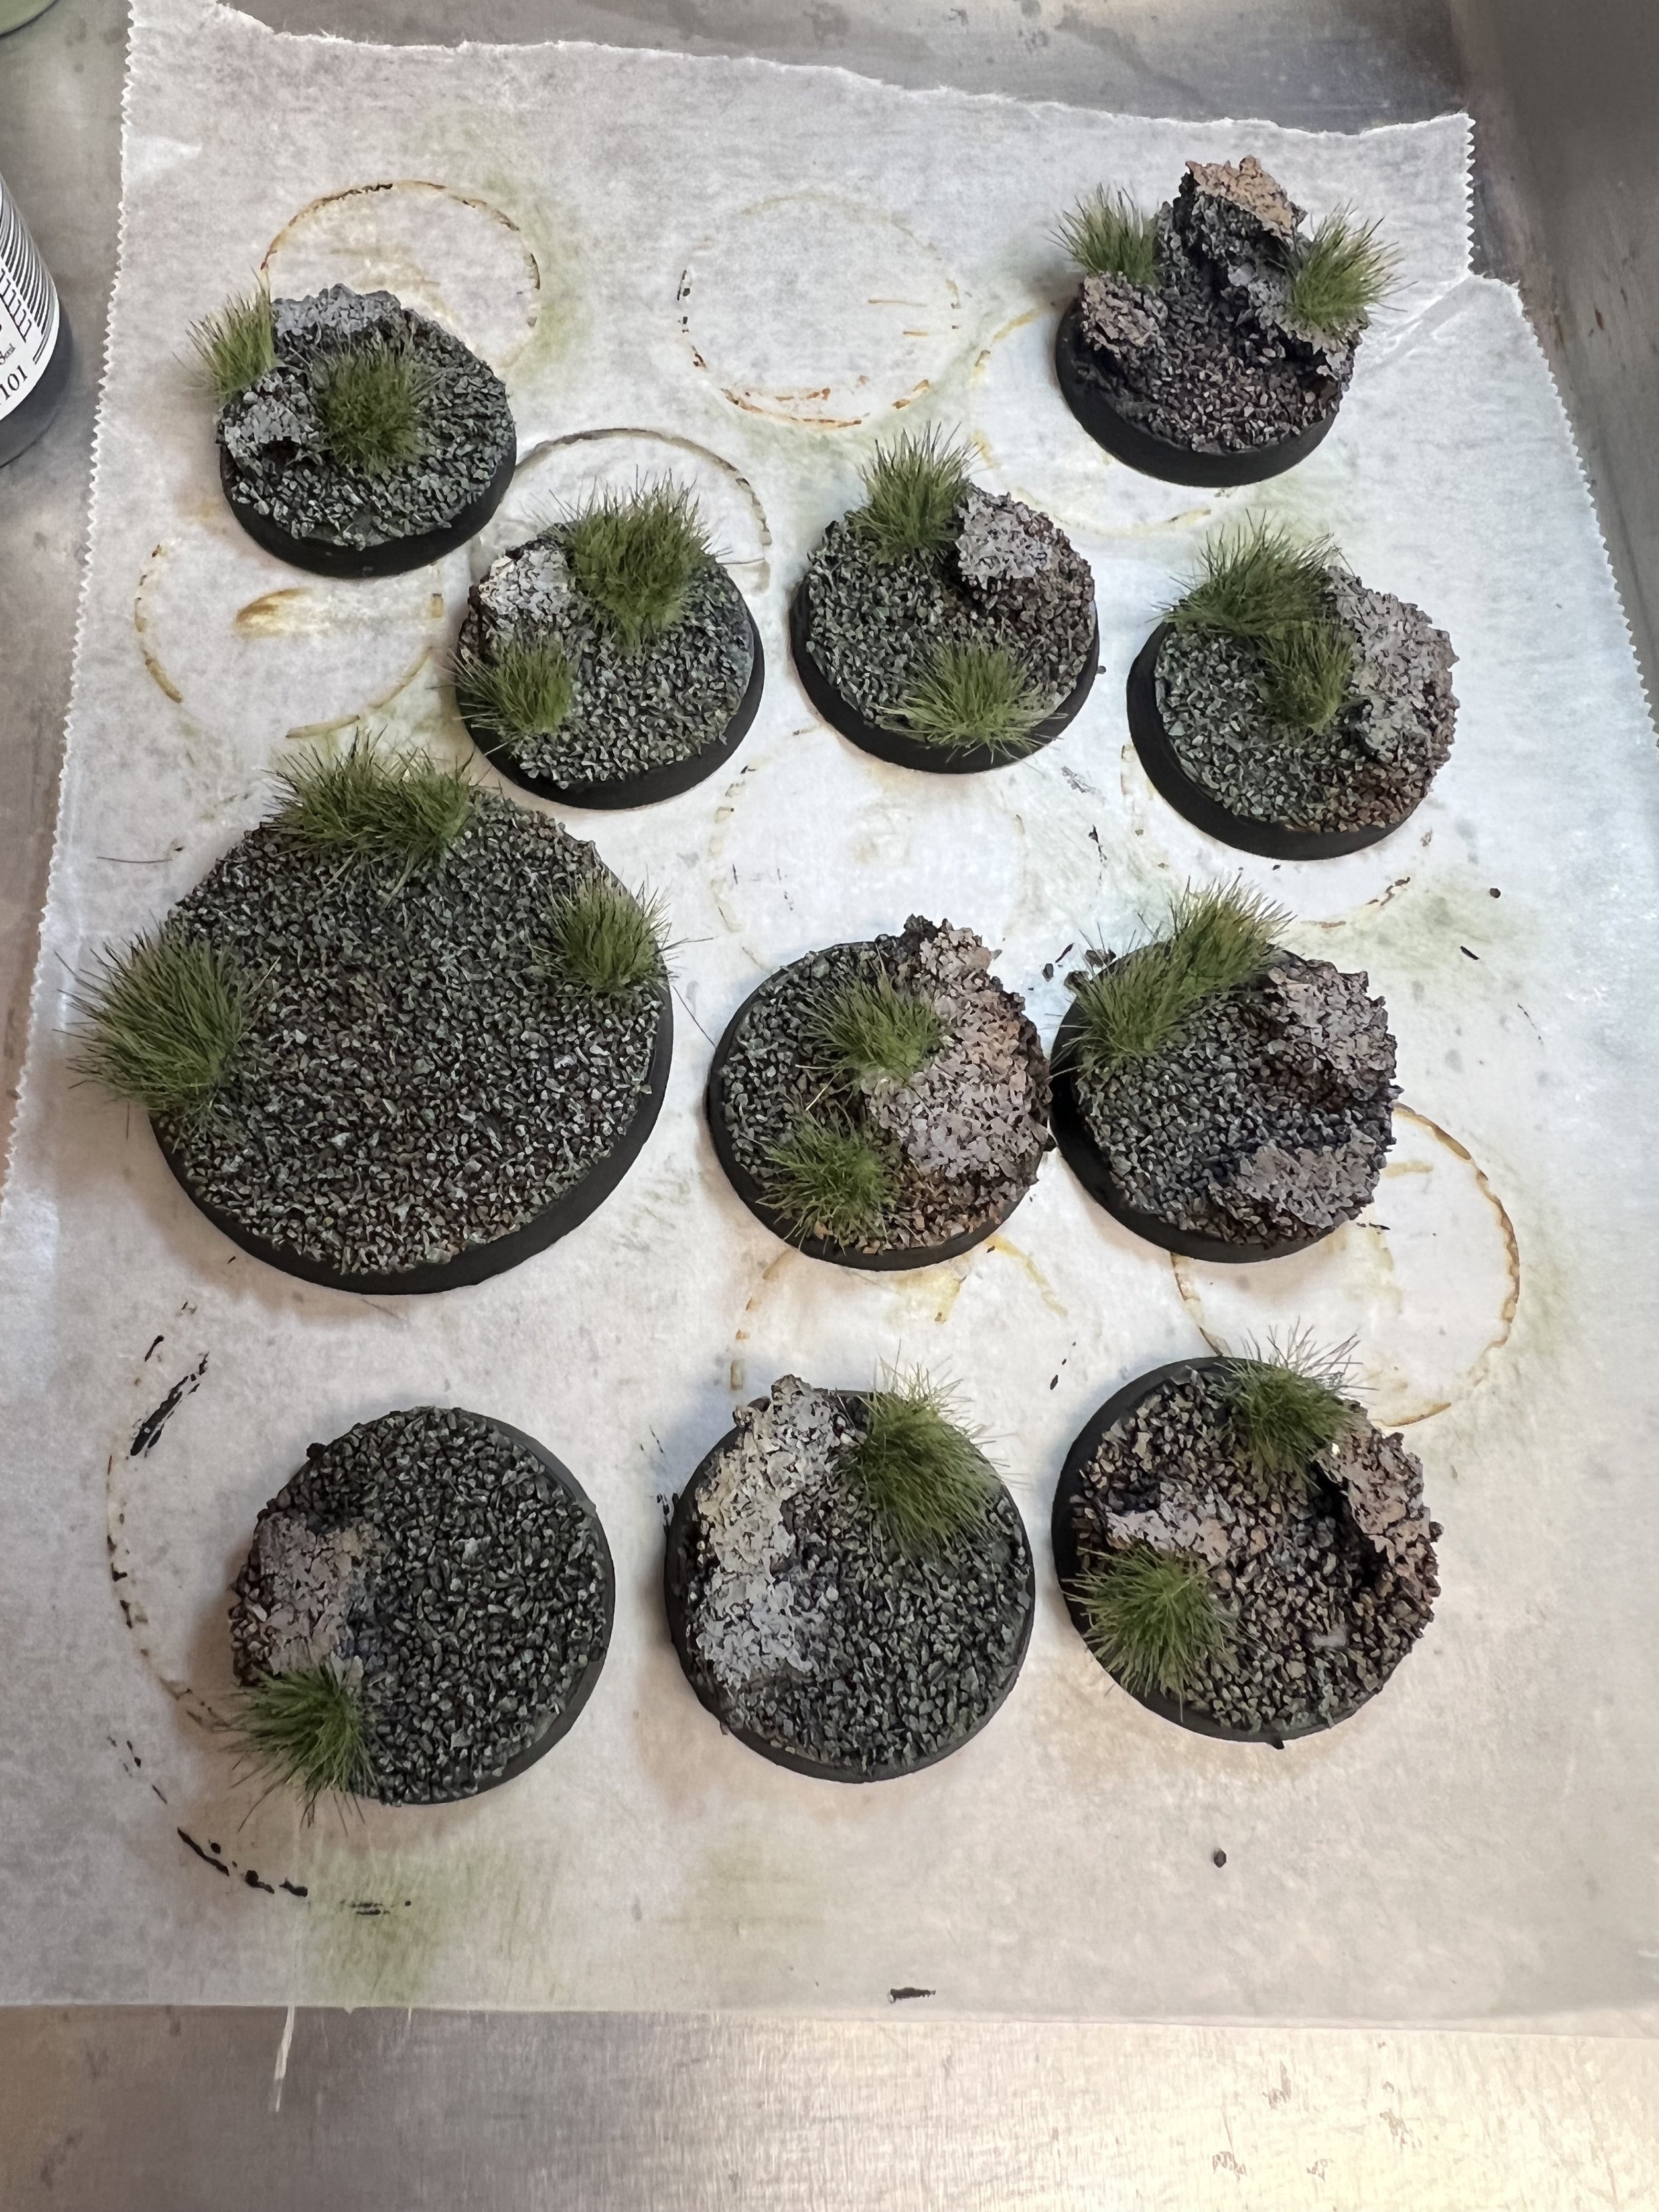
Step 4: Adding color.
This step is where it felt like it would make or break everything. I used a mixture of various Army Painter Warpaints and Speed Paints to achieve the colors.
First up was the Army Painter Speed Paints. I used Hardened Leather around the majority of each of the bases to give the grave a nice, dark earth tone, as well as some of the cork rocks. I followed that up with Pallid Bone on the bigger cork rocks and smaller portions of the gravel, giving the impression of bone or lighter rocks. Lastly was Gravelord Grey in a small amount to blend it all together.
Next up was some drybrushing with Army Painter Warpaints. I went over all of the gravel with Army Green to give the base a feeling of the grass trying to come up through the stones. After that, the cork rocks were dry brushed with Ash Grey.
The final step in the painting was to use Matt Black to paint the rim of the base. I know Games Workshop tends to use a more metallic/bronze like color, but I think a simple black acrylic makes all the work pop.
Step 5: Adding the tufts.
The final step in the entire process is simply to add the grass tufts as you see fit.
I poured out some PVA glue onto a piece of cardboard and would dip the bottom of the tuft in it prior to putting it on the base. I felt like that was the best way to control the glue and not have it flowing all over the place.
I used all three sizes available in the pack to give the bases variety. I also mixed up the placement on each base so they didn’t look static and cookie cutter.
Ideally this is where I would had varnish to the entire thing to give it one last seal. However, I am waiting until I finish the miniatures so I can varnish them all.
Final Thoughts:
Of all the things that this hobby places in front of hobbyists as a barrier or hurdle to overcome, basing doesn’t need to be some mythical boogyman. Army Painter have delivered hobbyists a simple line of affordable materials that really take the hardest of work out of it. Nothing is a silver bullet in this hobby, but these are a fantastic tool to add to every hobbyist’s workspace.
Pros:
Straight forward and easy to use.
Affordable. The Battlefield Basing line are available for $5.99 each, while the Army Painter Tufts are $6.99.
The simple containers for the Battlefield Basing as transparent and stackable.
Cons:
Both lines of materials are extremely realistic in their inspiration and replication. While the various gravel textures can be painted up, the tufts are a bit harder to customize. I would love to see a line of more exotic or alien colors/textures.